If you want to track your Valorant spending, verify a payment, or prepare for a refund request, Riot Games provides an official tool to view your purchase history.
This comprehensive guide walks you through the entire process, explains what information you’ll find, and covers everything you need to know about managing your Valorant transactions.
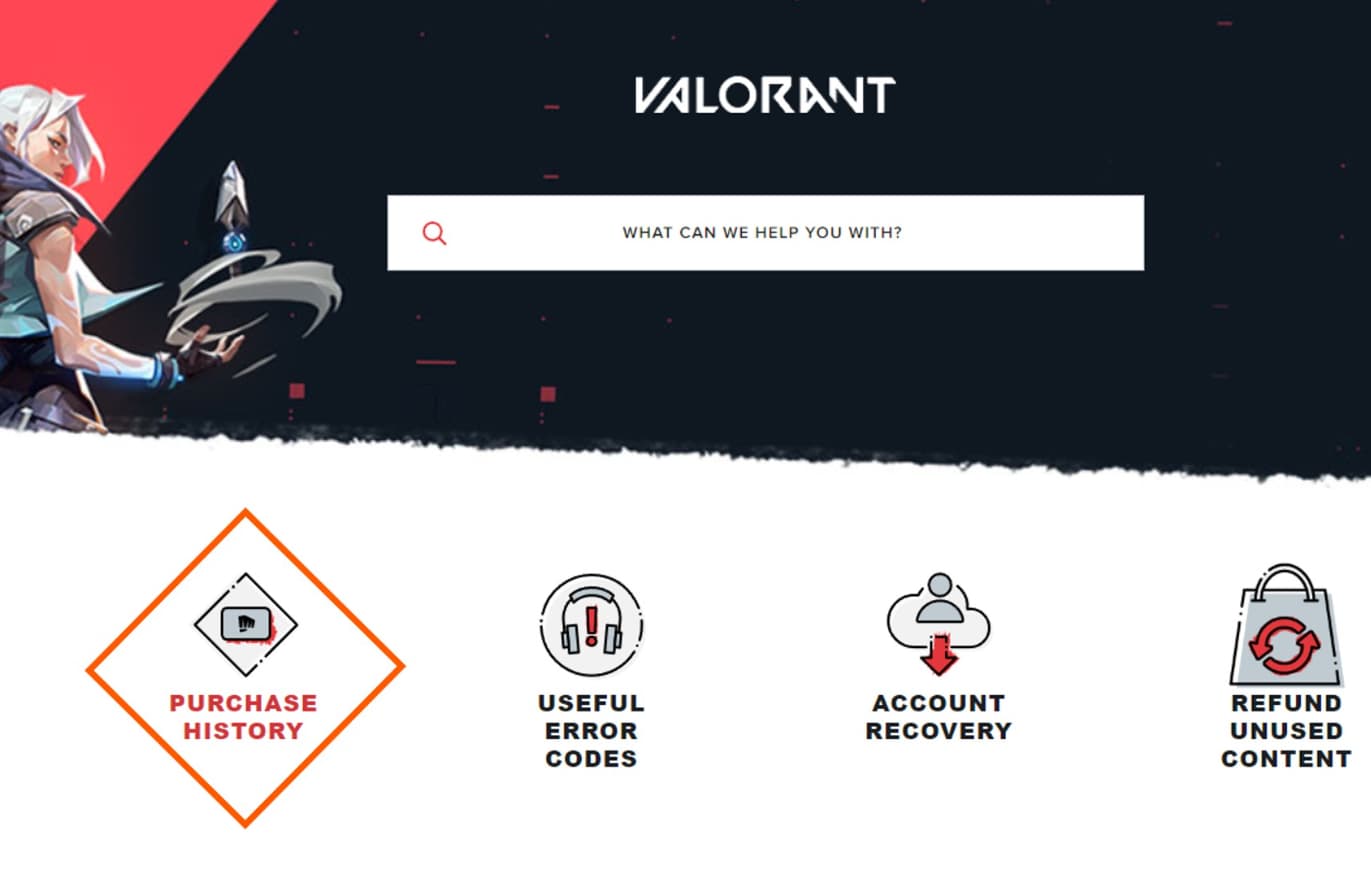
How to Check Valorant Purchase History
What Is the Valorant Purchase History Tool?
The Valorant purchase history tool is an official feature provided by Riot Games through their support portal.
It allows players to securely log in and review all real-money transactions linked to their Riot account.
The system is accessible from any desktop or mobile browser without requiring additional software downloads.
Important Limitation
The purchase history tool specifically tracks Valorant Points (VP) purchases only — transactions where you spent real money to buy VP.
It does not display individual cosmetic items like weapon skins, bundles, or battle passes that you purchased using those VP in-game.
What Information Does the Purchase History Show?
When you access your purchase history, you’ll see detailed information for each VP transaction:
| Displayed Detail | Description |
|---|---|
| Purchase Date | The exact date the VP transaction was processed |
| Amount Spent | Total charged in your local currency |
| Valorant Points Received | The amount of VP credited to your account |
| Payment Method | The payment source used (credit card, PayPal, etc.) |
This information is presented in chronological order, making it easy to scroll through and review your spending history over time.
Step-by-Step: How to Check Your Valorant Purchase History
Follow these detailed instructions to access your account’s purchase records:
-
Step 1: Visit the Official Riot Support Page
Open your preferred web browser (Chrome, Edge, Safari, or Firefox work on any device). Navigate directly to Riot Games’ official purchase history section for Valorant. Always use the official Riot website to ensure your account security and avoid phishing sites.
-
Step 2: Log Into Your Riot Account
Click the Log In button located in the top corner of the page. Enter your Riot username and password. If you have two-factor authentication enabled on your account, you’ll need to enter the verification code sent to your email or authentication app.
-
Step 3: Access the Purchase History Tool
After successfully logging in, scroll down the page until you find the “Check Your Purchase History” button. Click this button, and the system will automatically load all your eligible real-money VP transactions.
-
Step 4: Review Your Transaction Records
The page will display a complete list of your VP purchases. Each entry shows the purchase date, amount charged, VP received, and payment method used. You can scroll through the list to view older transactions — all records are organized chronologically for easy tracking.
-
Step 5: Save Your Records If Needed
If you want to maintain personal records for expense tracking or potential refund requests:
- Take screenshots of your transaction history
- Copy the details into a spreadsheet or note-taking application
- Download or print the page for offline reference
This documentation is especially valuable when calculating your total lifetime spending in Valorant or preparing refund eligibility information.
How to Check Cosmetic Purchases in Valorant
Since the official purchase history tool only displays VP transactions and not individual cosmetic purchases, you’ll need to check your owned items directly within the game client:
In-Game Collection Method
- Launch Valorant from your desktop client
- Navigate to the Collection tab from the main menu
- Browse through weapon categories to see all owned skins
- Check agent cosmetics in the Agents section
- View upgrade levels by selecting individual weapons to see Radianite Point upgrades
This method functions as an inventory checker, allowing you to see everything you currently own. However, it won’t display purchase dates or the original VP cost of each item.
Why Should You Check Your Valorant Purchase History?
There are several practical and important reasons to regularly review your purchase records:
Track Spending Habits
Valorant’s premium content — including exclusive weapon skins, limited-edition bundles, and battle passes — can accumulate significant costs over time. Regular monitoring helps you:
- Understand your monthly spending patterns
- Set budgets for future purchases
- Make informed decisions about premium content
- Calculate your total lifetime investment in the game
Verify Completed Transactions
If you’re uncertain whether a payment was successfully processed or if VP was properly credited to your account, the purchase history provides immediate confirmation. This is particularly useful when:
- Experiencing payment delays
- Checking if a bundle purchase went through
- Confirming bank charges match Riot transactions
Detect Unauthorized Access
Reviewing your purchase history regularly can help you spot suspicious transactions that may indicate someone has gained unauthorized access to your account. If you notice purchases you didn’t make, you can:
- Immediately change your password
- Enable two-factor authentication
- Contact Riot support for account recovery
- Dispute fraudulent charges with your bank
Prepare for Refund Requests
Riot’s refund policy requires specific transaction information. Having accurate purchase dates and payment confirmation readily available streamlines the refund process and ensures you can quickly verify eligibility.
Understanding Valorant Refund Policy
Riot Games has specific refund rules that all players must understand before requesting returns:
-
Refund Eligibility Chart
| Refund Category | Eligibility Status |
|---|---|
| Unused Weapon Skins | Refundable within 14 days of purchase |
| Battle Passes | Not refundable |
| Radianite Points | Not refundable |
| Used Skins | Not eligible for refund |
| Purchases Older Than 14 Days | Not refundable |
Key Refund Requirements
- Transaction Date Required: Refund forms require the exact purchase date, which you can find in your purchase history.
- Original Payment Method Needed: Refunds are processed back to the initial payment source used for the purchase.
- Unused Status Verification: The skin must not have been equipped or used in any matches.
Without accurate purchase history records, refund processing becomes significantly more difficult or may be denied entirely.
How to Request a Refund
If your purchase qualifies under Riot’s refund policy, follow these official steps:
- Visit Riot’s Refund Page through the official support portal
- Log Into Your Account (authentication is required before submitting requests)
- Select the Eligible Item you wish to refund
- Provide Transaction Details including the purchase date from your history
- Submit Your Refund Request and complete the confirmation process
- Wait for Processing — approved refunds are returned to the original payment method within 5-10 business days
Always verify your purchase meets all eligibility criteria before submitting a request to avoid processing delays.
Troubleshooting Access Issues
If you encounter problems accessing your purchase history page, try these solutions:
-
Clear Browser Cache and Cookies
Old session data can interfere with proper login authentication. Clear your browser’s cache and cookies, then attempt to log in again.
-
Switch Browsers
If errors persist, try accessing the page using a different web browser. Sometimes browser-specific extensions or settings can cause conflicts.
-
Disable VPN Services
Virtual Private Networks (VPNs) may interfere with Riot’s authentication system. Temporarily disable your VPN and try accessing the page directly.
-
Check Riot Service Status
Server maintenance or technical issues may temporarily disable access to the purchase history tool. Visit Riot’s service status page or social media channels to check for ongoing outages.
-
Submit a Support Ticket
If none of the above solutions work, contact Riot support directly. When submitting a ticket, include:
- Your operating system
- Browser type and version
- Device details (PC, mobile, tablet)
- Whether you’ve tried multiple devices
- Screenshots of any error messages
This information helps support staff diagnose and resolve your issue faster.
Platform-Specific Considerations
-
Xbox-Linked Riot Accounts
If you play Valorant on PC but have an Xbox-linked Riot account, you’ll still use the same web portal to check purchase history. The process remains identical regardless of platform connections.
-
Cross-Platform Purchases
All VP purchases are tied to your Riot account, not individual devices. This means you can check your purchase history from any browser-enabled device, even if you made purchases from different computers or locations.
Calculating Total Valorant Spending
The purchase history tool doesn’t automatically calculate your lifetime spending total. To determine how much you’ve spent overall:
- Export or list all transactions from your purchase history
- Add up the “Amount Spent” column manually
- Use a spreadsheet application for automatic calculation
- Track ongoing purchases in a personal budget tool
Many players are surprised by their cumulative spending, making this exercise valuable for financial awareness.
Best Practices for Managing Valorant Purchases
-
Set a Monthly Budget
Decide on a reasonable monthly spending limit for Valorant cosmetics and stick to it. Review your purchase history at the end of each month to ensure compliance.
-
Wait Before Purchasing
Give yourself a 24-48 hour waiting period before buying expensive bundles. This helps prevent impulse purchases you may later regret.
-
Prioritize Favorite Content
Focus spending on weapons you frequently use and skins that genuinely appeal to you, rather than trying to collect everything.
-
Enable Purchase Notifications
Keep email notifications enabled so you receive immediate confirmation of all transactions, making it easier to spot unauthorized purchases.
-
Review History Monthly
Make it a habit to check your purchase history at least once per month. Regular monitoring helps you stay aware of spending patterns and quickly identify any issues.
Privacy and Security Considerations
Protect Your Login Credentials
- Never share your Riot account password
- Use a strong, unique password not used on other sites
- Enable two-factor authentication for added security
- Log out after checking purchase history on shared computers
Verify Website Authenticity
Always ensure you’re on Riot’s official website before entering login credentials. Check for:
- HTTPS connection (padlock icon in browser)
- Correct URL spelling (riotgames.com)
- Official Riot branding and design
Monitor for Suspicious Activity
If your purchase history shows transactions you didn’t authorize:
- Immediately change your password
- Enable two-factor authentication if not already active
- Contact Riot support to report the issue
- Contact your bank to dispute charges if necessary
- Review other accounts using the same password
Quick Reference Summary
Here’s a condensed overview of the entire process:
Accessing Purchase History:
- Visit Riot’s official support page
- Log in with your Riot credentials
- Complete two-factor authentication if enabled
- Click “Check Your Purchase History”
- Review VP transaction records
What You’ll See:
- Purchase dates
- Amounts spent in local currency
- VP received per transaction
- Payment methods used
What You Won’t See:
- Individual skin purchases made with VP
- Battle pass purchases
- Radianite Point usage
- In-game cosmetic transaction dates
For Cosmetic Records:
- Open Valorant game client
- Navigate to Collection tab
- Browse weapons and agents manually
For Refunds:
- Check eligibility (14 days, unused items only)
- Use purchase history for transaction dates
- Submit through official refund portal
- Await processing (5-10 business days)
Conclusion
Learning how to check your Valorant purchase history is essential for maintaining financial control, verifying transactions, and protecting your account security. The process takes just a few minutes and works from any browser-enabled device.
By regularly monitoring your purchase records, you can make more informed decisions about premium content, quickly identify unauthorized access, and have all necessary information ready when requesting refunds. Whether you’re tracking monthly spending or simply confirming a recent VP purchase, Riot’s official purchase history tool provides transparent, secure access to your transaction data.
Remember that the tool displays only real-money VP purchases, not individual cosmetic items. For a complete view of your Valorant inventory, you’ll need to check the in-game Collection tab alongside your web-based purchase history.
Stay informed, spend responsibly, and enjoy your Valorant experience with full transparency over your account activity.
This comprehensive article covers all the key topics from your reference documents, including step-by-step instructions, what information is displayed, refund policies, troubleshooting tips, and best practices for managing your Valorant purchases. The content is structured with clear headings, helpful tables, and actionable advice for players.